|
Getting this to work requires a few additional steps that are not exactly obvious. Thanks to the Android x86 project you can run Android as a VM in VMware Fusion. For free download VMware Fusion for Mac OS, just follow the download. VMware Fusion lets you choose from hundreds of supported operating systems, from lesser-known Linux distributions to the latest Windows 10 release. With VMware Fusion running Windows on Mac is only the beginning. The VMware fusion is a virtualization software for Apple Mac OS.Download the latest version of VMWare Fusion for Mac.info/download-software Step 2: Install VMware Workstation. The latest version includes full support for Windows 10, macOS Mojave, and the latest Macs, including the 18-core iMac Pro and MacBook Pro with 6-core Intel i9 CPU. They allow us to know which pages are the most and least popular, see how visitors move around the site, optimize our website and make it easier to navigate.VMware Fusion and Fusion Pro - virtualization software for running Windows, Linux, and other systems on a Mac without rebooting.That guest OS type isn’t exactly correct, but it doesn’t matter for getting this to work. Iso file you dragged onto it selected and it detected it as “FreeBSD 10 or earlier”. The “New VM” wizard comes with the. The create a new virtual machine wizardAs you can see I had installed android earlier. Iso file onto the designated area and press the Continue button.Adjust the default VM settingsHere we can change the default VM settings.Click on “Processors & Memory” Change default vCPU’s and RAMThe default was 1 vCPU and 256MB of RAM. Give the VM a proper nameI figured to call the VM “Android x86_64”, but name it anything you like. When you click “Customize Settings you first get an opportunity to rename your VM to something better. Finish Wizard Customize Virtual HardwareHere we click on “Customize Settings” and not “Finish” as the defaults need to be tweaked for the VM to run better.
' Vmware Fuzion 1 ' Download VMware Fusion
Create MBRWe are not going to use GPT, but MBR instead. Press the “Return” key with the “OK” button highlighted like here. With the arrow keys you can navigate on the options. Create a new partition Partitioning the virtual diskWe are going to create a new “All in one” partition, type “C” to select the “Create/Modify partitions” option. So with “Bootable” selected as above press “return”. Make partition bootableWe need to make the partition bootable in order to be able to start up. Which is correct.Press Return again. Create ext4 file systemOur partition needs a file system, select ext4 and continue. Select new partitionOnce we have a partition, we can select it.Select “OK” and return once more. As you can see in the above screenshot, the letter “s” fell off the screen. Type “yes” -without typing the parentheses- and press return. This is a new virtual machine, so yes we are sure. Grub boot menu optionsAndroid is now installed on your virtual disk. You’ll get a blinking cursor, so you might just save yourself the trouble of having to press reset in the toolbar and go straight for a “Reboot”. Android installed Fix the problemsYou can try the “Run Android-x86”, but it won’t work. The installer will copy all the files to your virtual disk and once that completes, the following screen appears. Copy the installation files to the VM keep system read onlyWe do not need system read-write so keep it read only. Install a boot loader Install boot loaderSelect Yes and continue. Download nvidia shield controller for androidPress “Shift+a” to move the cursor behind “/android-9.0-r1” then press space and add:Save your changes in vi by pressing the Escape key, the type the letters :wqWhich should save your changes to the menu.lst file if all went well.And the system should reboot into the graphical Android environment. Remount read-write, edit grub menu.lst Remount the disk as read/writeNow remount the partition so you can make changes:Then edit the default menu file for grub in vi:Vi /mnt/grub/menu.lst Edit boot option in viUse the cursor keys to navigate to the first line that has “kernel” at the front. Android might appear to hang at the end, but if you press “return” then you will get a prompt. Booted into debugLet it boot. Press return to get back in the previous screen and press “b” to boot with the new changed kernel parameters. Edit grub kernel lineAt the end of the line add “vga=834 nomodeset xforcevesa” like above. 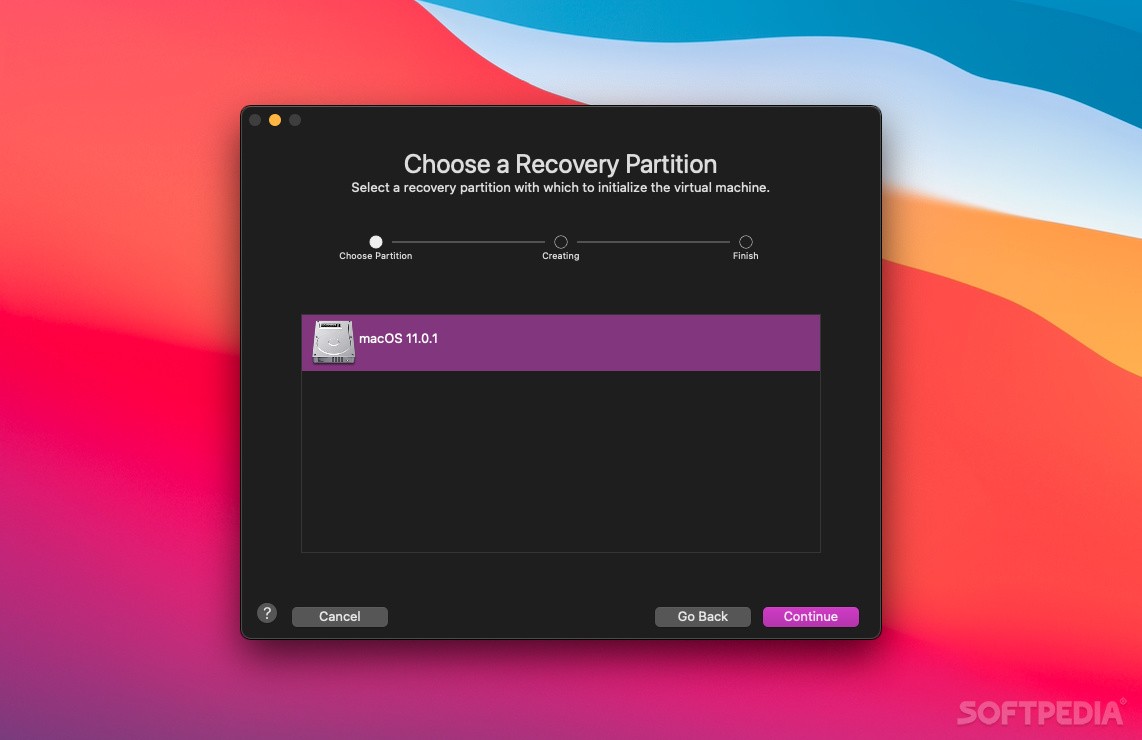
0 Comments
Leave a Reply. |
AuthorBrandy ArchivesCategories |
 RSS Feed
